
The Complete Guide to Winterizing Your Outdoor Kitchen and Built-In Bar
Chicagoland winters are famous for their distinct seasonal beauty, but let's face it—they can be downright brutal on your backyard. When the autumn leaves finish falling and the first frost sets in, homeowners across the region know it is time to start prepping their properties. If you have recently invested in transforming your backyard into an entertainment oasis, protecting that investment should be your top priority.
Custom outdoor kitchens and built-in outdoor bars are fantastic additions that increase property value and provide incredible spaces for summer and fall gatherings. However, stainless steel appliances, stone countertops, and integrated plumbing require specific care to survive freezing temperatures. Failing to properly winterize these spaces can lead to cracked pipes, damaged masonry, and costly landscaping repair bills come spring.
At Outdoor Masters, we want to ensure your outdoor living spaces remain pristine year after year. We have put together this comprehensive guide to help you navigate the winterization process, ensuring everything is safe, secure, and ready for you as soon as the weather warms up again.
How to Winterize Outdoor Plumbing and Sinks
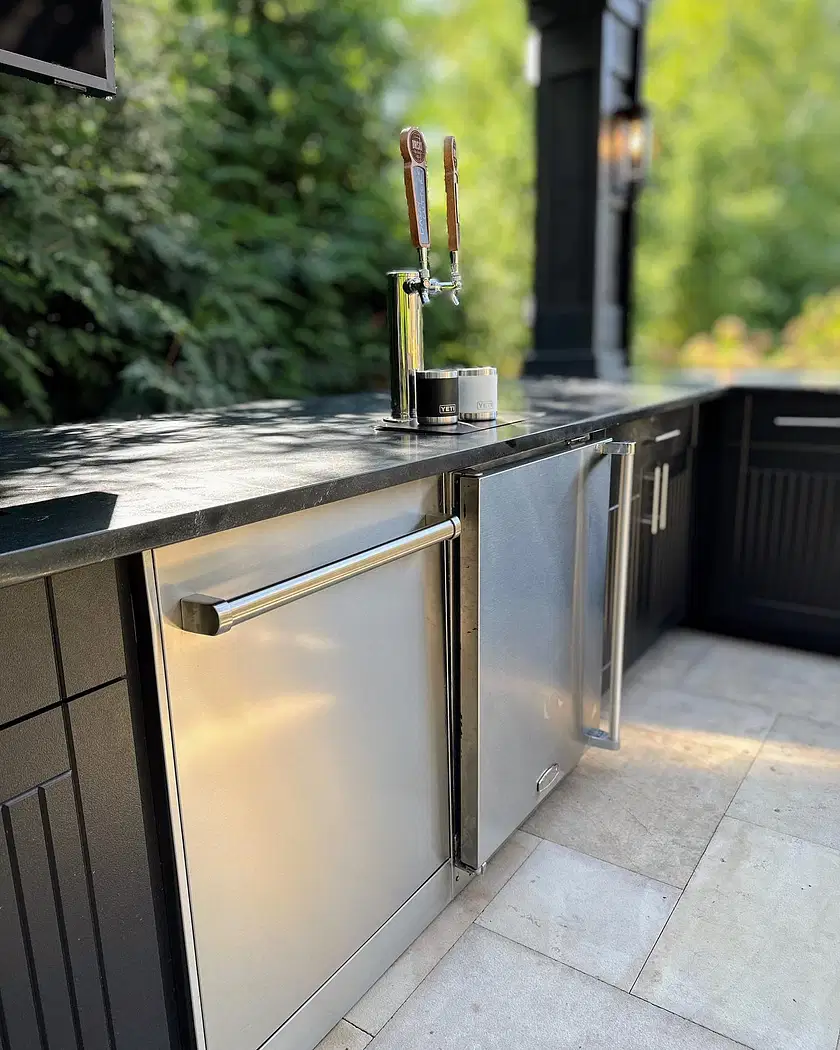
One of the most critical steps in preparing your backyard for winter is dealing with the water lines. Water left inside pipes will expand when it freezes, which can easily burst PVC, copper, or PEX tubing, leading to severe damage to your hardscaping and cabinetry.
To prevent this, learning how to winterize outdoor plumbing and sinks is essential. Start by locating the main water shut-off valve for your outdoor kitchen, which is usually located inside your home, perhaps in the basement or utility room. Once the water supply is completely turned off, you need to drain the remaining water from the lines.
Turn on the hot and cold handles of your outdoor sink and leave them in the open position. This allows air to flow through the system and any trapped water to escape. For added protection, many professionals recommend using an air compressor to blow out the lines, ensuring no residual moisture is left behind. Finally, be sure to remove the drain plug and clear out the P-trap beneath the sink. You can pour a small amount of non-toxic RV antifreeze down the drain to prevent any remaining water in the trap from freezing and cracking the pipe.
Step by Step Outdoor Kitchen Winterization Checklist
Staying organized is the best way to ensure you do not miss any crucial details. Having a reliable step by step outdoor kitchen winterization checklist can save you a tremendous amount of time and stress.
1. Clear and Clean Everything: Remove all food, utensils, and trash from the cabinets and drawers. Wipe down the interior and exterior of all storage spaces with a gentle stainless steel cleaner. Leaving crumbs or debris can attract local wildlife looking for a warm winter home.
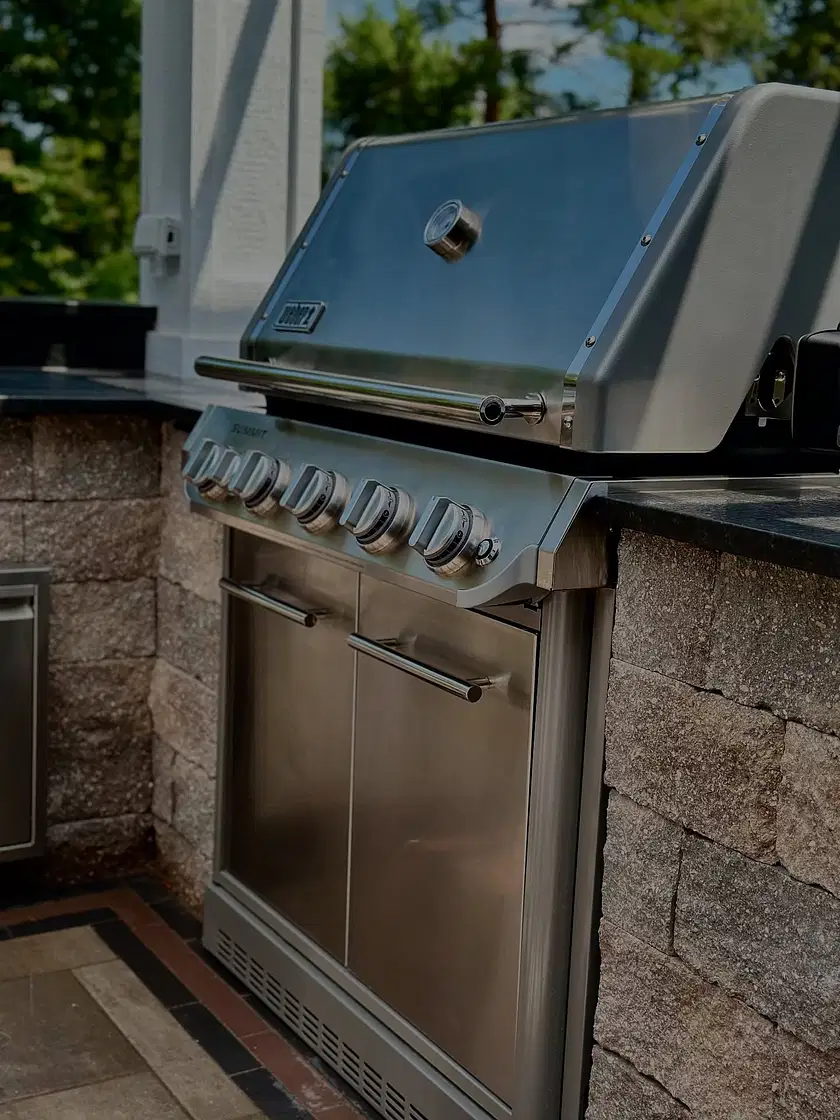
2. Shut Off the Gas: If you have a built-in gas grill, locate the gas shut-off valve and turn it off. If your grill runs on a standalone propane tank, detach the tank, ensure the valve is tightly closed, and store it outdoors in an upright, well-ventilated area—never store propane tanks indoors or in a garage.
3. Deep Clean the Grill: Grease and food residue can trap moisture and cause corrosion over the winter months. Burn off excess grease, scrub the grates thoroughly, and clean the grease trap. Once dry, coat the grates with a high-heat cooking oil to prevent rust.
4. Seal the Stone: Natural stone countertops are porous. Before the snow flies, clean your counters and apply a quality stone sealer. This prevents moisture from seeping into the stone, freezing, and causing cracks.
5. Invest in Custom Covers: Generic tarps can trap moisture. Invest in high-quality, breathable covers designed specifically for your grill and kitchen layout. Make sure they are fastened securely to withstand strong winter winds.
Protecting Outdoor Kitchen Appliances from Freezing Temperatures
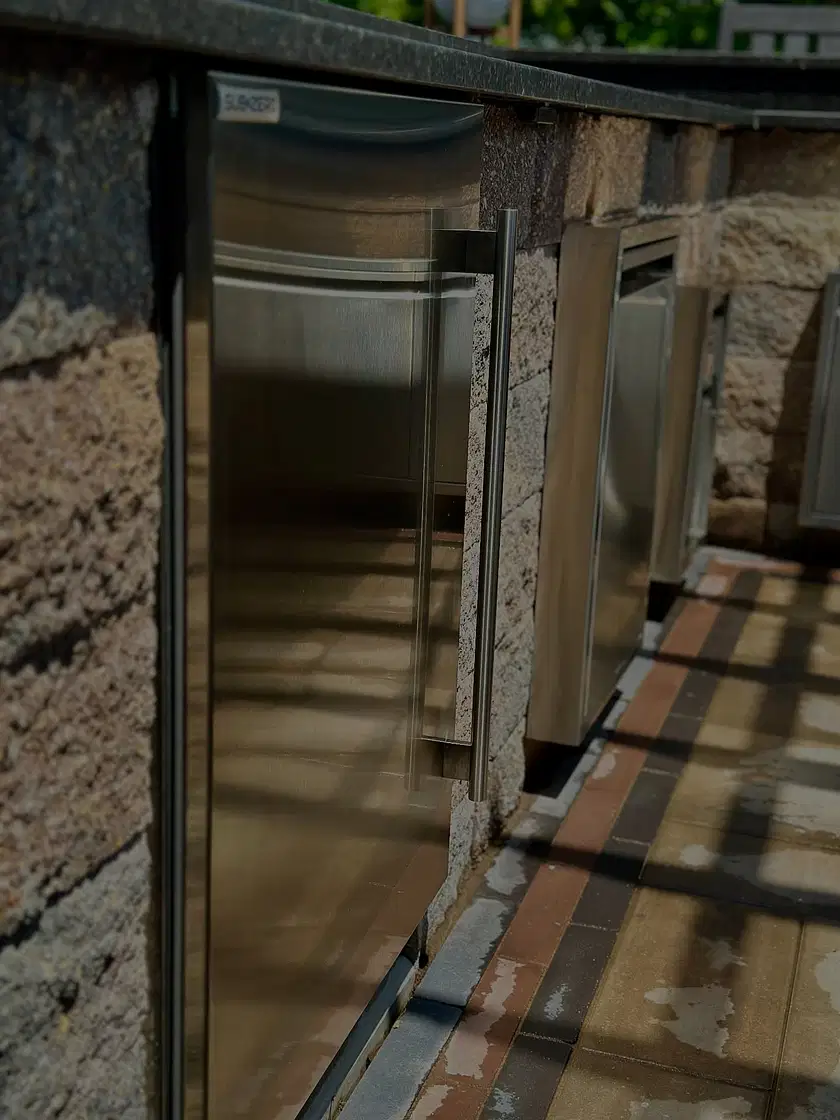
Beyond the plumbing and the grill, your outdoor kitchen likely features refrigerators, ice makers, or kegerators. Protecting outdoor kitchen appliances from freezing temperatures is vital because extreme cold can destroy their internal components.
For outdoor refrigerators, simply turning them off is not enough. You must unplug the unit or turn off its dedicated breaker. Next, remove all contents and clean the interior with a mixture of baking soda and warm water to prevent mold and odors. It is very important to leave the refrigerator door propped open slightly over the winter; this allows air to circulate and keeps mildew at bay.
If you have a built-in ice maker, you will need to shut off its water supply and drain the lines just as you did for the sink. Clean the ice bin thoroughly. For kegerators located in your built-in outdoor bar, remove the kegs, flush the beer lines with a proper cleaning solution, and ensure the CO2 tank is shut off and stored properly.
Electrical outlets should also be addressed. Turn off the power to your outdoor island at the main breaker panel to prevent electrical shorts from melting snow and ice. Ensure all weatherproof outlet covers are firmly snapped shut.
Preparing Your Complete Outdoor Living Space
While your kitchen and bar area take priority, do not forget about the rest of your backyard. Professional landscaping services often recommend a comprehensive approach to winter property care. Sweeping away wet leaves and clearing debris from your patios and hardscaping prevents staining and surface degradation.
Clients often ask us about the difference between hardscaping and landscaping when it comes to seasonal care. While landscaping involves cutting back perennials and protecting fragile plants, hardscaping care focuses on structural integrity. If you have custom outdoor living areas, ensuring that your drainage systems are clear of autumn leaves is crucial so melting snow does not pool around your kitchen foundations.
Let Outdoor Masters Help You Prepare
Winterizing your property might seem daunting, but it is an essential part of responsible homeownership in the Midwest. Taking the time to properly shut down your outdoor entertainment spaces ensures they will be in perfect condition when spring finally arrives.
If you are feeling overwhelmed by the process, or if you have noticed that your current setup needs some attention before the snow falls, we are here to help. At Outdoor Masters, we pride ourselves on delivering top-tier craftsmanship, clear and transparent pricing, and reliable customer service to our neighbors in Aurora and throughout the region.
Whether you need advice on maintaining your current features or you are ready to start planning a new outdoor oasis for next year, our team has the expertise you can trust. Contact us today through our contact page to discuss your property's needs. Let's make sure your outdoor living spaces are protected this winter and ready for unforgettable gatherings next season.